Salt Bread - The Hype is 100% Worth
Fluffy on the inside, crisp base from the butter, joy in every bite.
Salt bread to me is the perfect combination of flavours in a bread, slight sweet from the milk, sugar and fermentation yet salty from, well the salt 😅 It’s also fluffy but when you bite into it it’s also got the crunch from the butter melting out of the dough when baking. It’s also an amazing base for any flavour combination, some iconic ones I can think of are strawberries and cream, corn cheese, chocolate… go crazy, whatever you want!! ❤️
I’ve only used a stand mixer for this recipe (really saves time and a lot of kneading) but I’ll try hand kneading next and update the blog with steps if I succeed. ☺️
Ingredients - Makes 8
- 200g strong white bread flour
- 50g cake flour
- 160g milk 1
- 12g sugar
- 3g yeast
- 12g softened butter
- 8*5g butter slices (to fold into the dough)
Method
-
Mix the dough Place all ingredients except for the butter in the bowl, mix on low speed until combined into a dough.
-
Mix moreee Turn up the speed to medium, until the dough becomes smooth.
-
And the butter goes in. Adding the butter to the dough, it might start to look sticky but trust the process!! After a few minutes it should be combined. Keep kneading until the dough passes the windowpane test. 2
-
First proof Form the dough into a ball, place in oven at 30°C and proof for 30 minutes or until 1.5 times the original size (a good judge for proofing at room temperature). Add a cup of water so the dough doesn’t dry out.
-
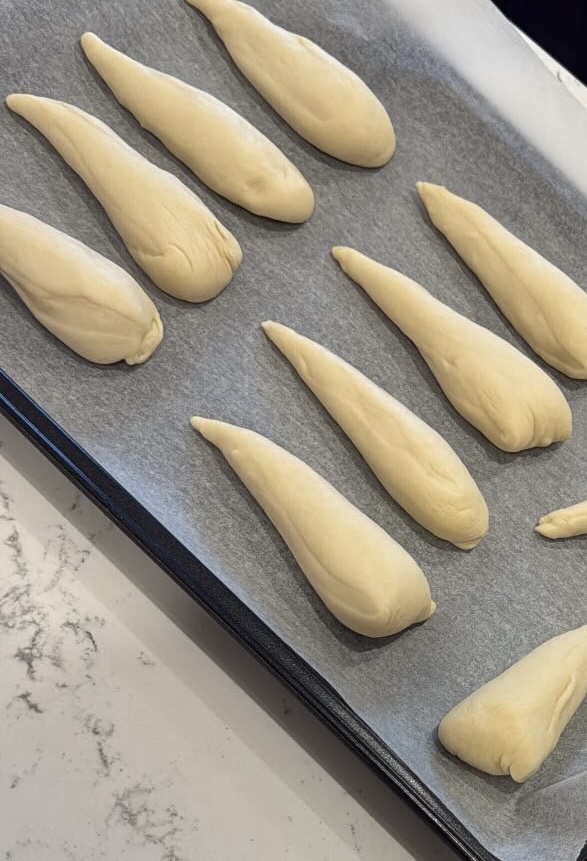
Beginning to shape! Cut the dough into 8 pieces, just as if you’re slicing a pizza 😛Pinch the sides and then roll the dough into a raindrop shape, thin at the bottom with a bulb at the top.
-
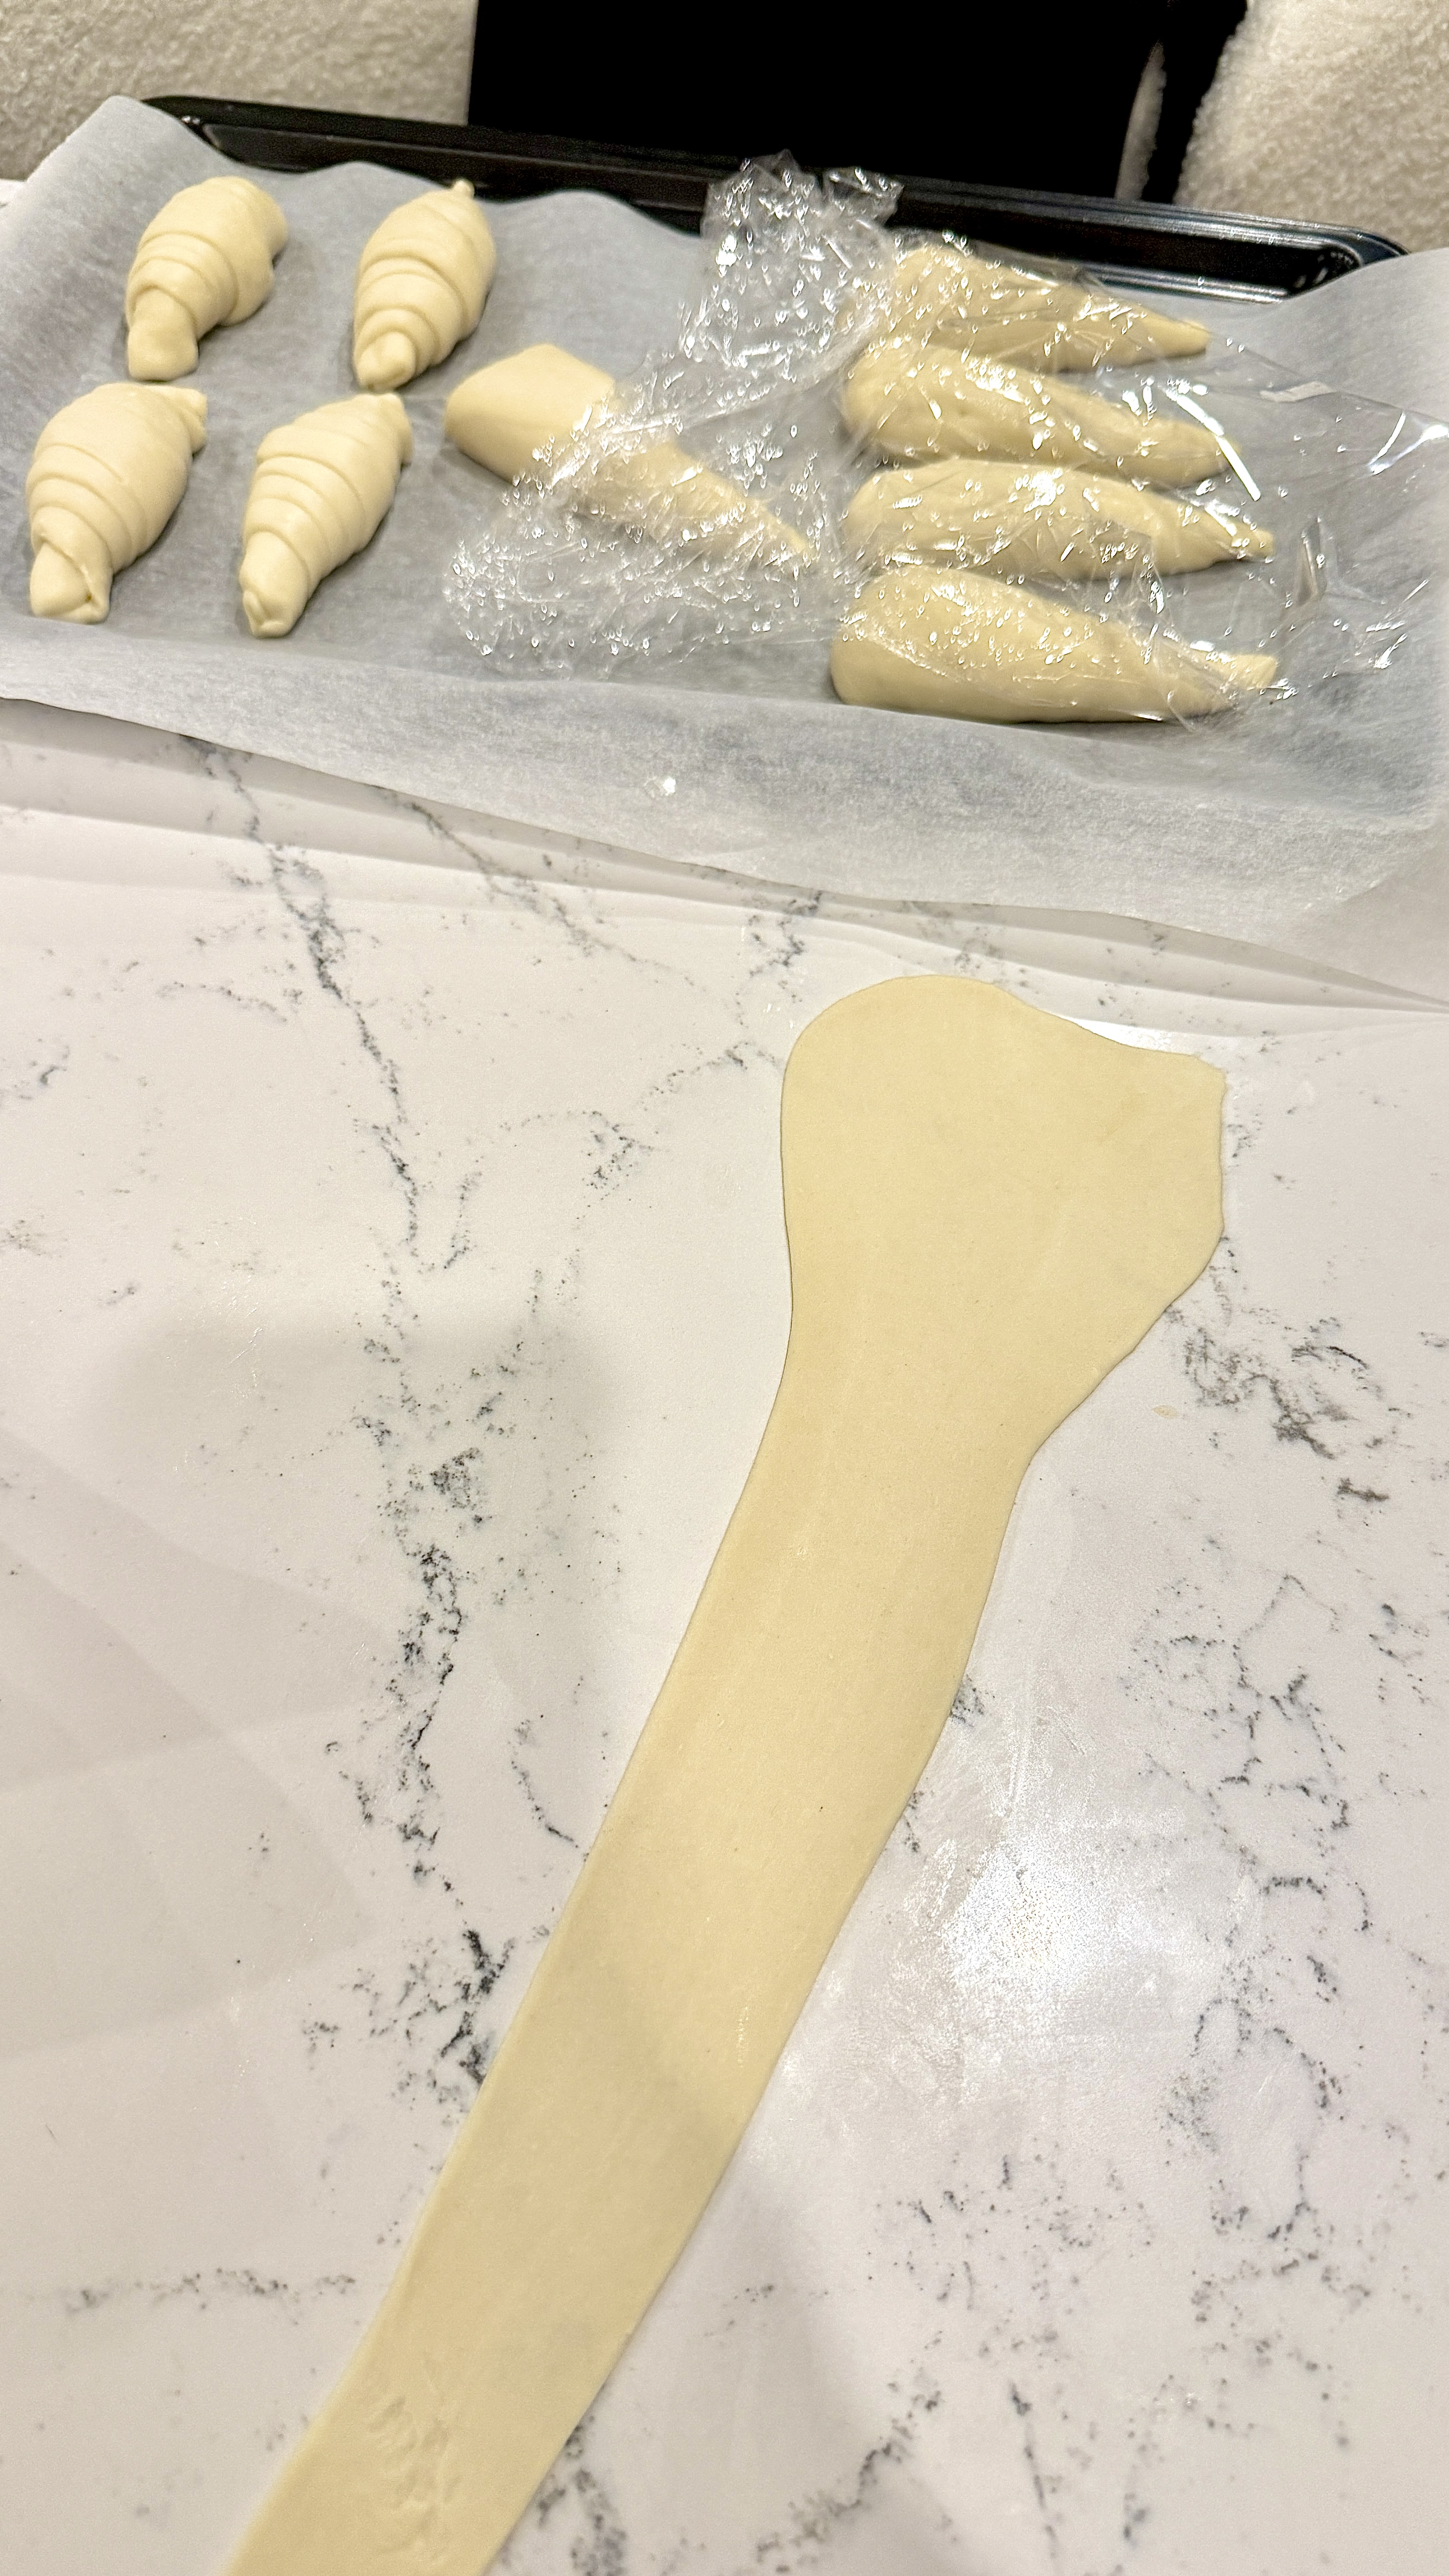
Dough gotta rest Cover the raindrops and place into the fridge to rest for 20 minutes. This allows the dough to not start proofing early and also makes it easier to work with.
-
When dough becomes salt bread Take one of the raindrops out, the start rolling the top third of the dough kneading it out. Then holding on to the thinner end start rolling out the dough, gently pulling down. Flip so the shiny side is up, then lightly brush with some oil/butter 3 Place the portioned out 5g of butter at the top and roll.
-
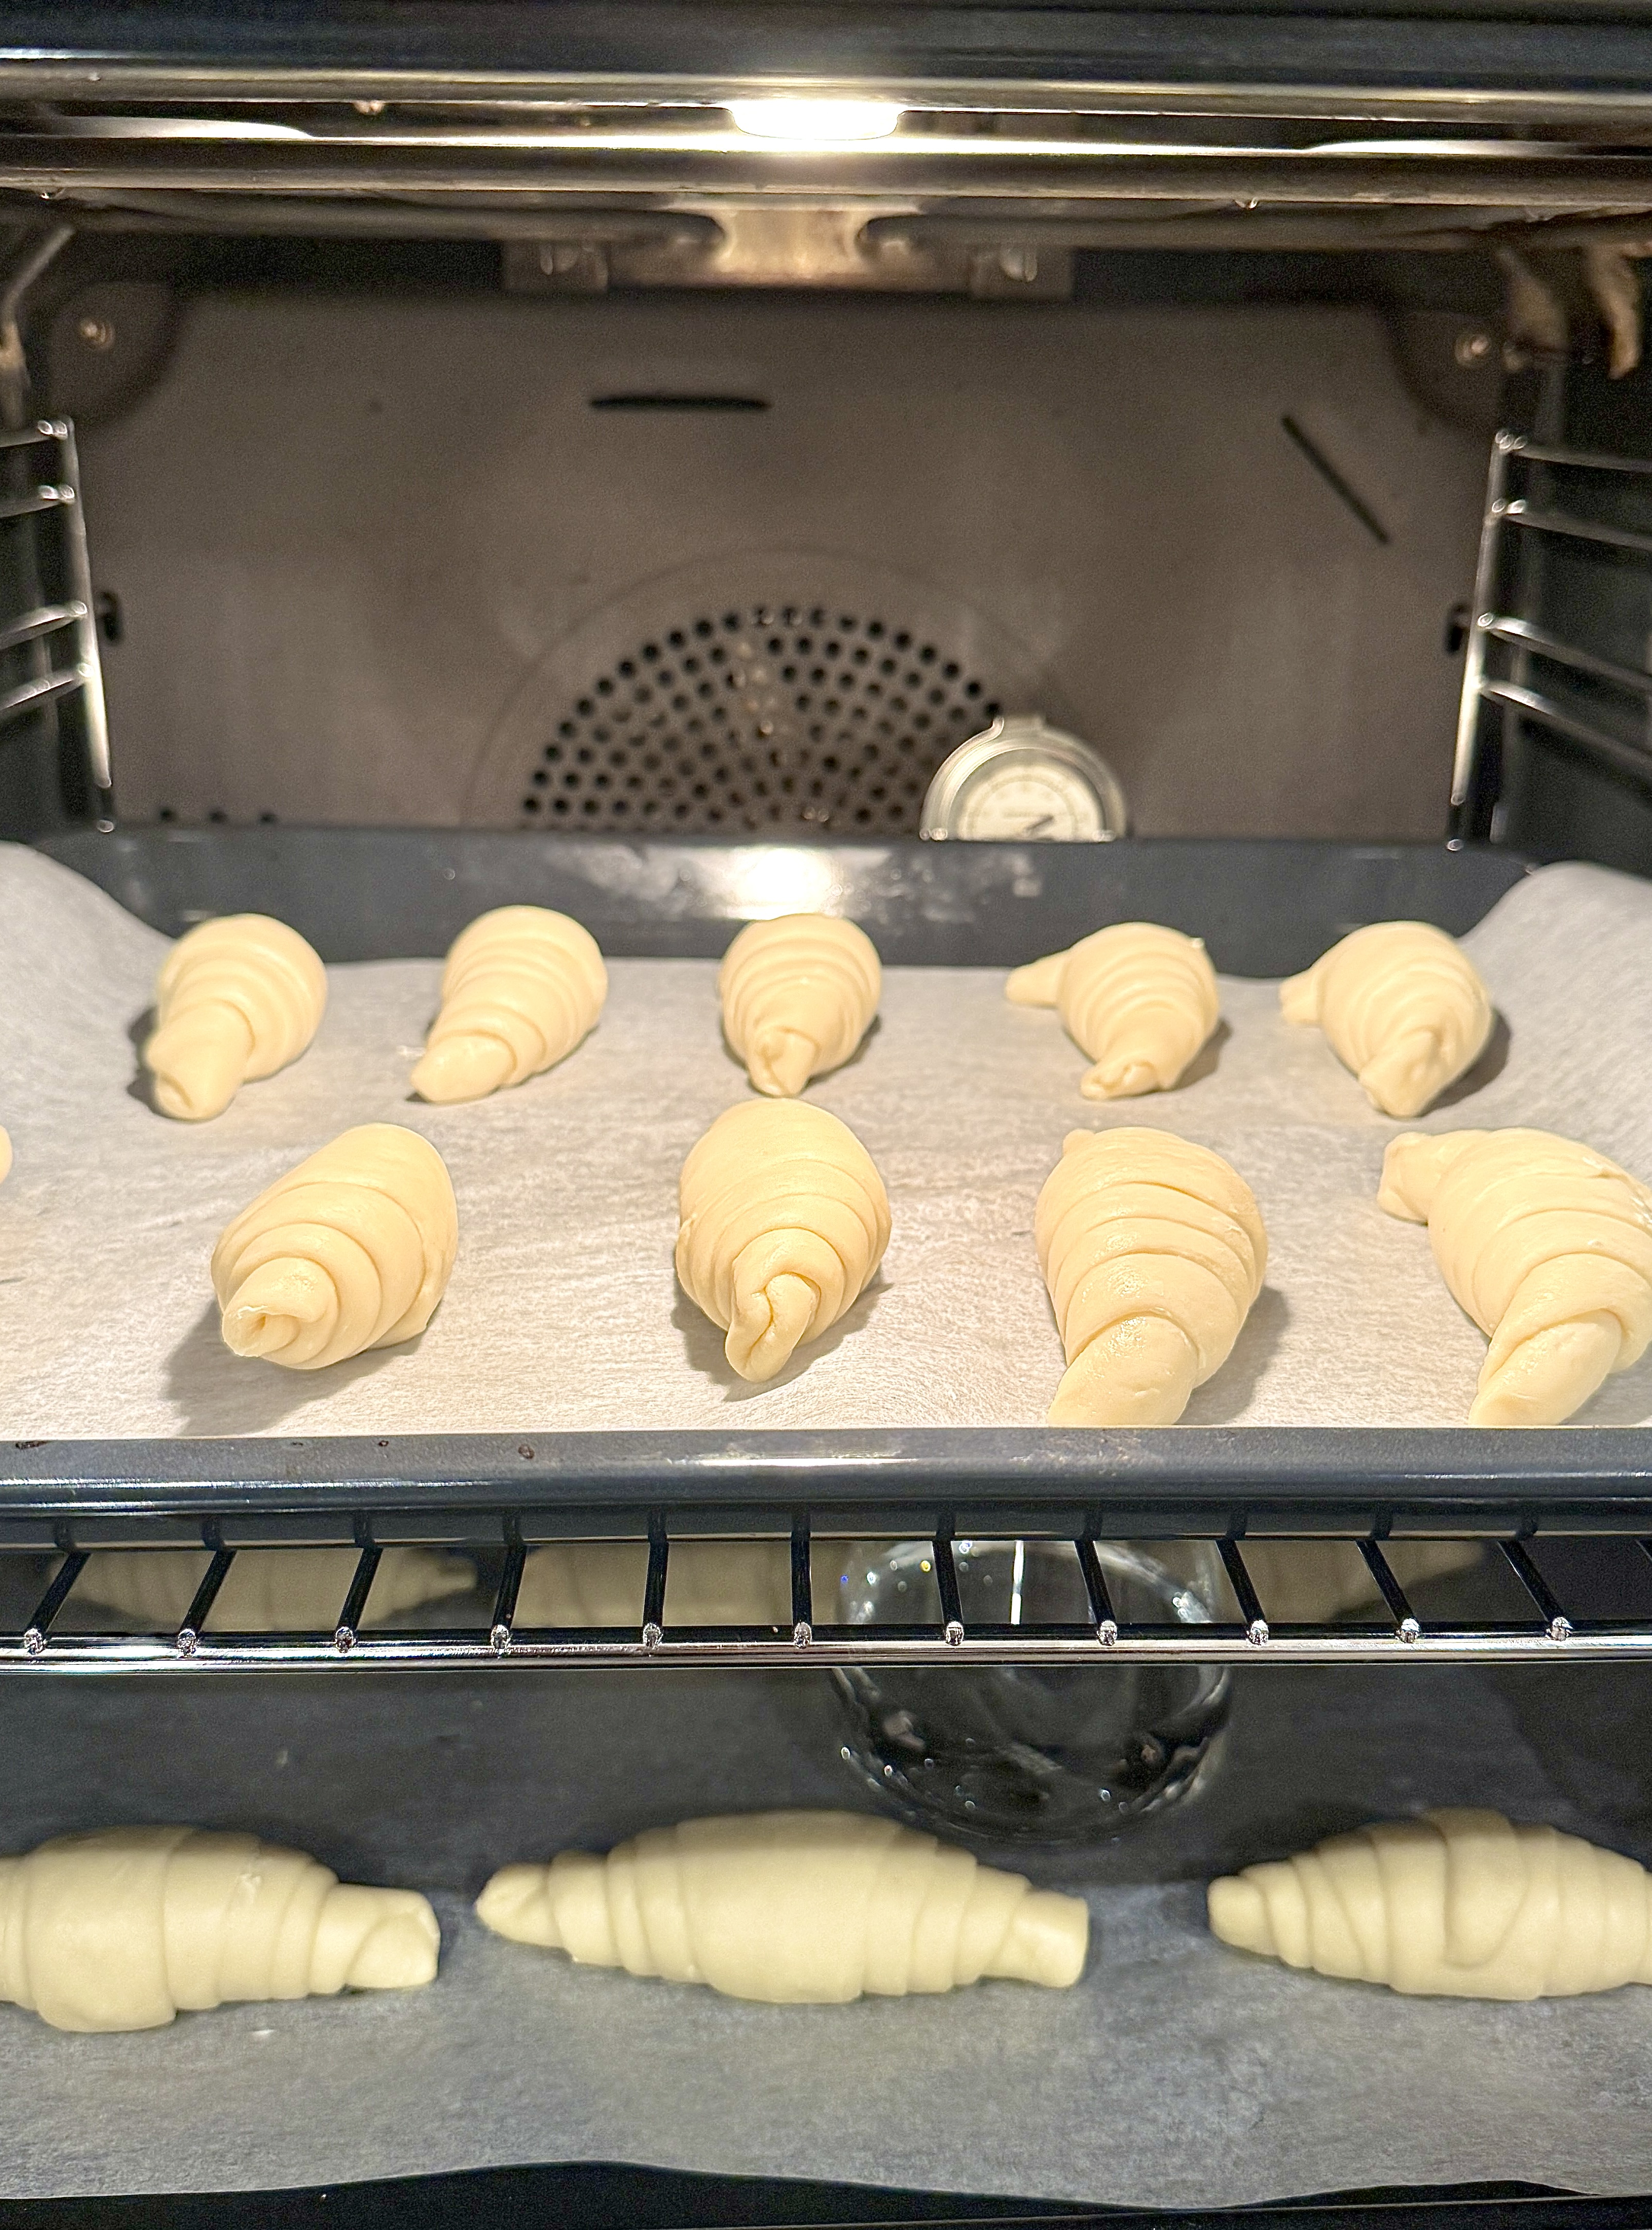
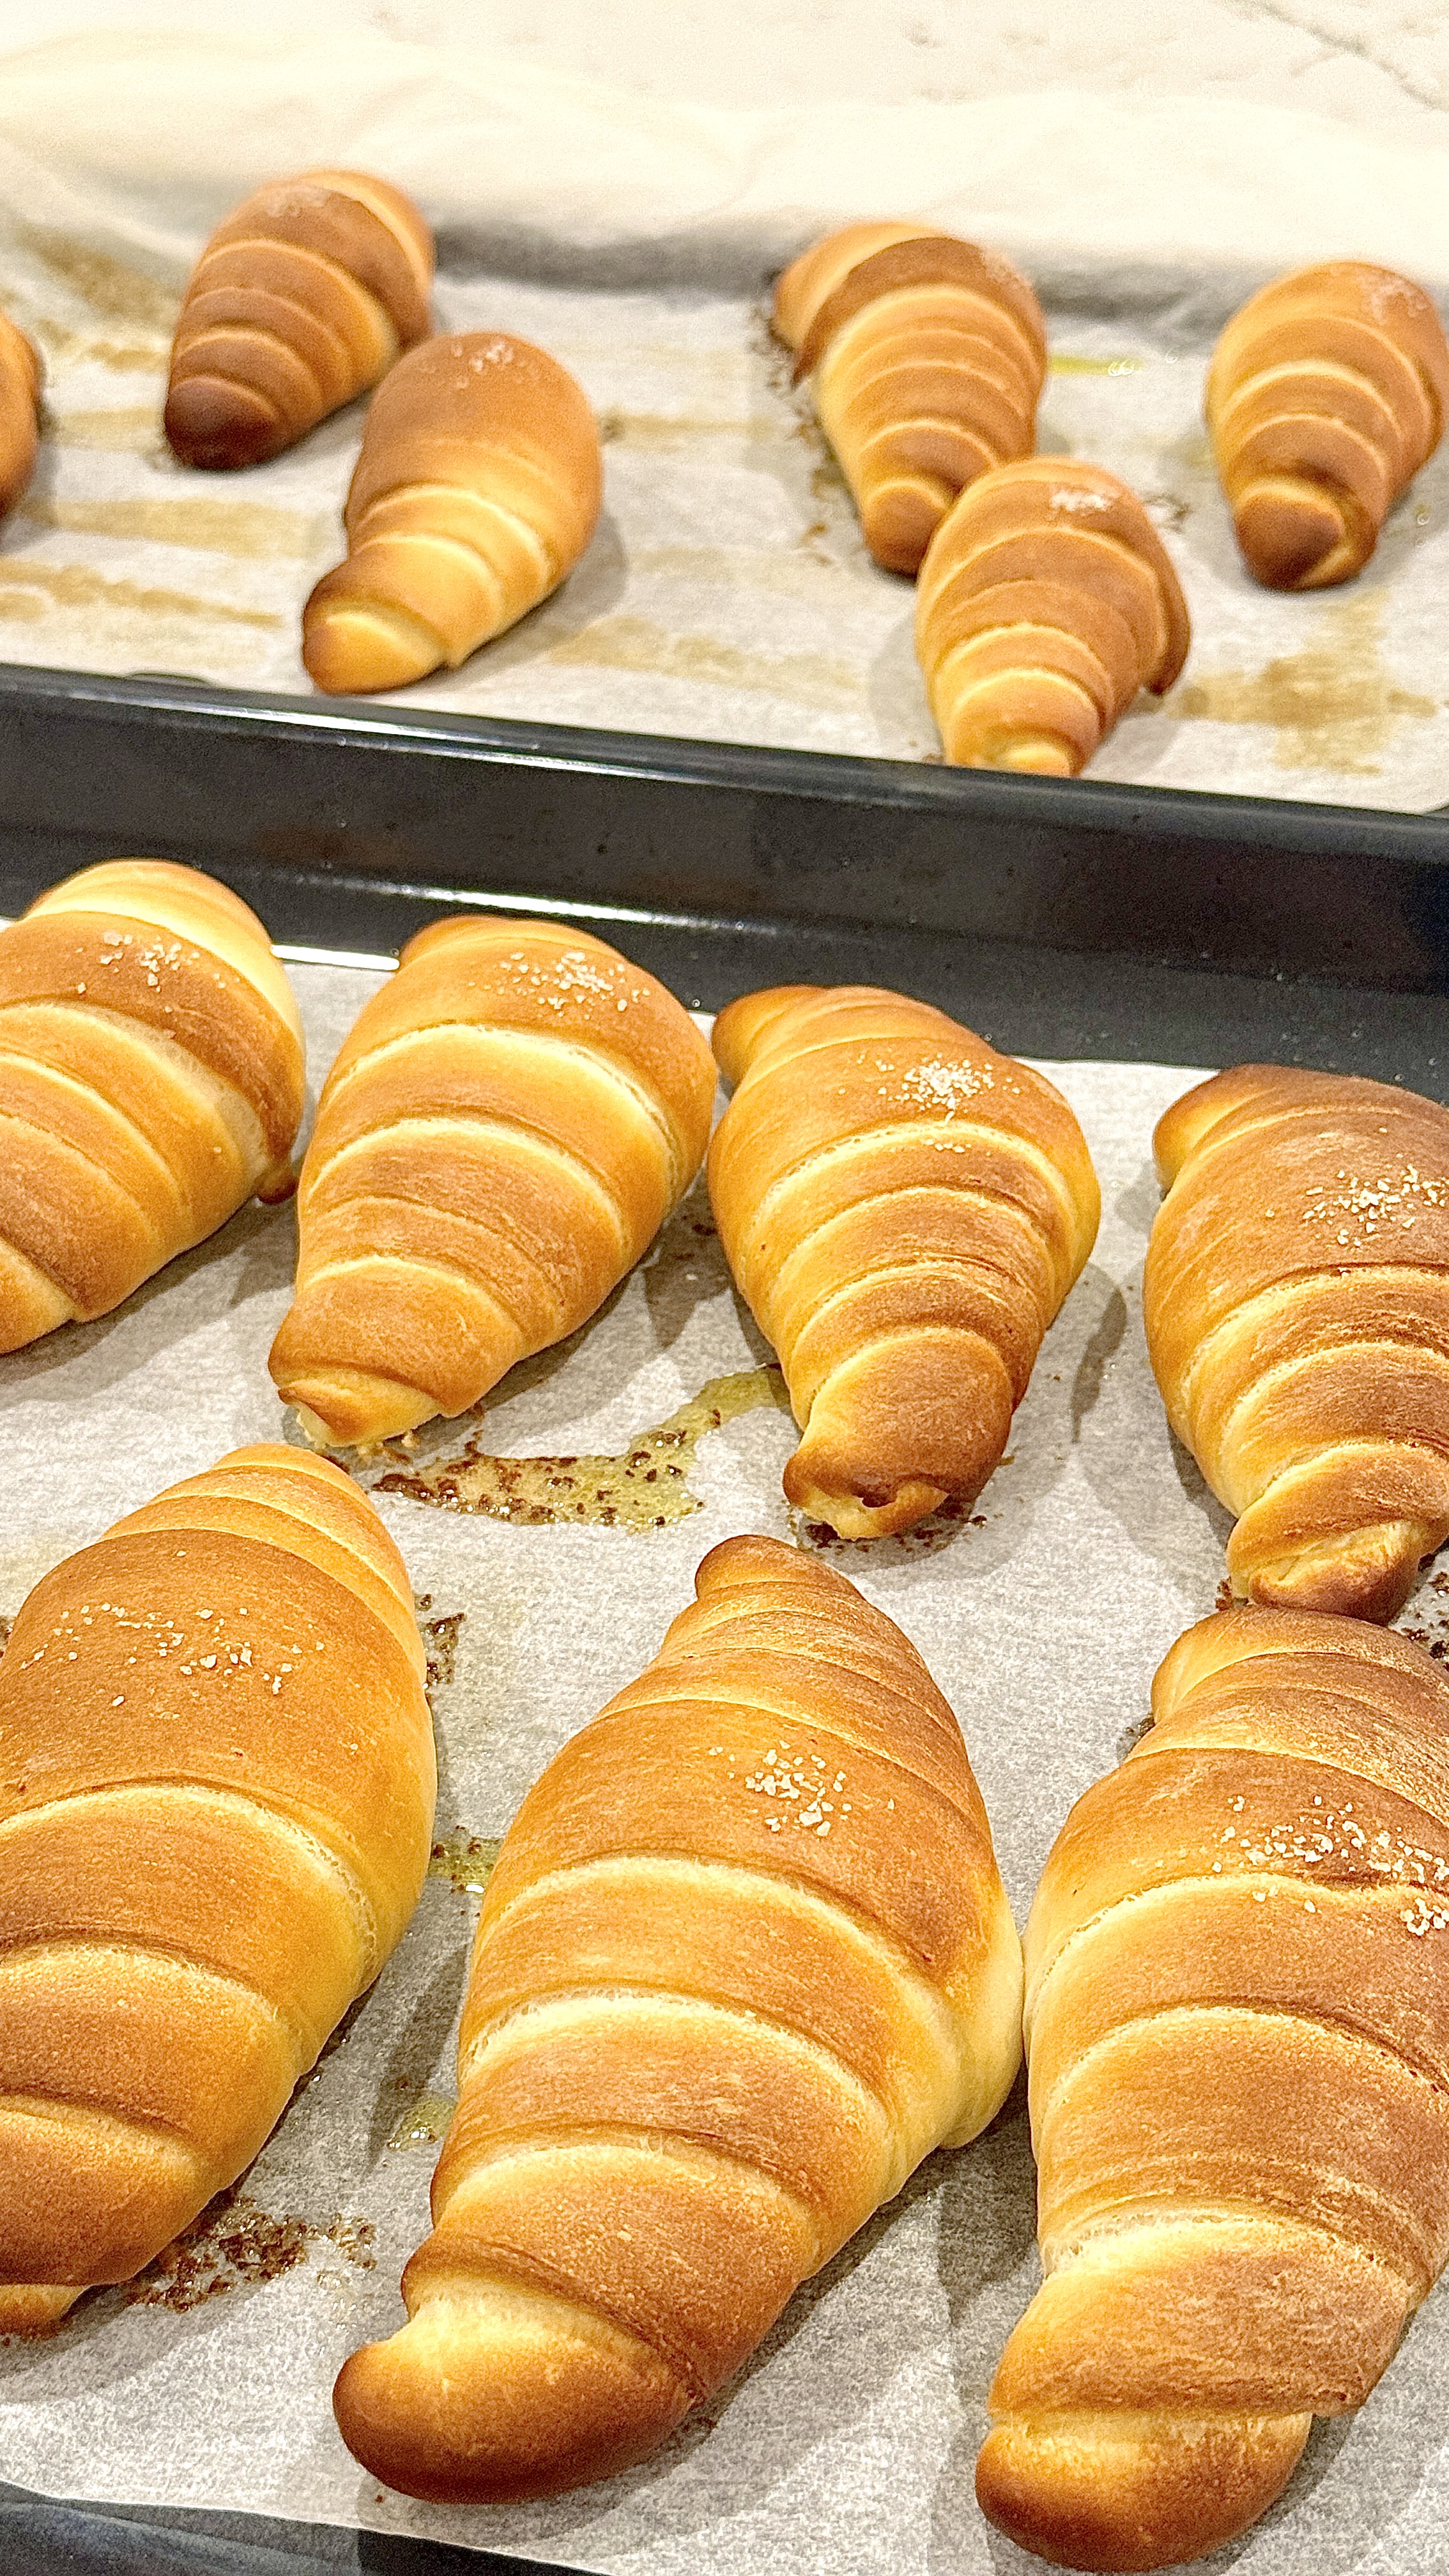
Second proof Place in oven at 30°C and proof for 60 minutes or until 2 times the original size. The dough should be jiggly then.
 Before
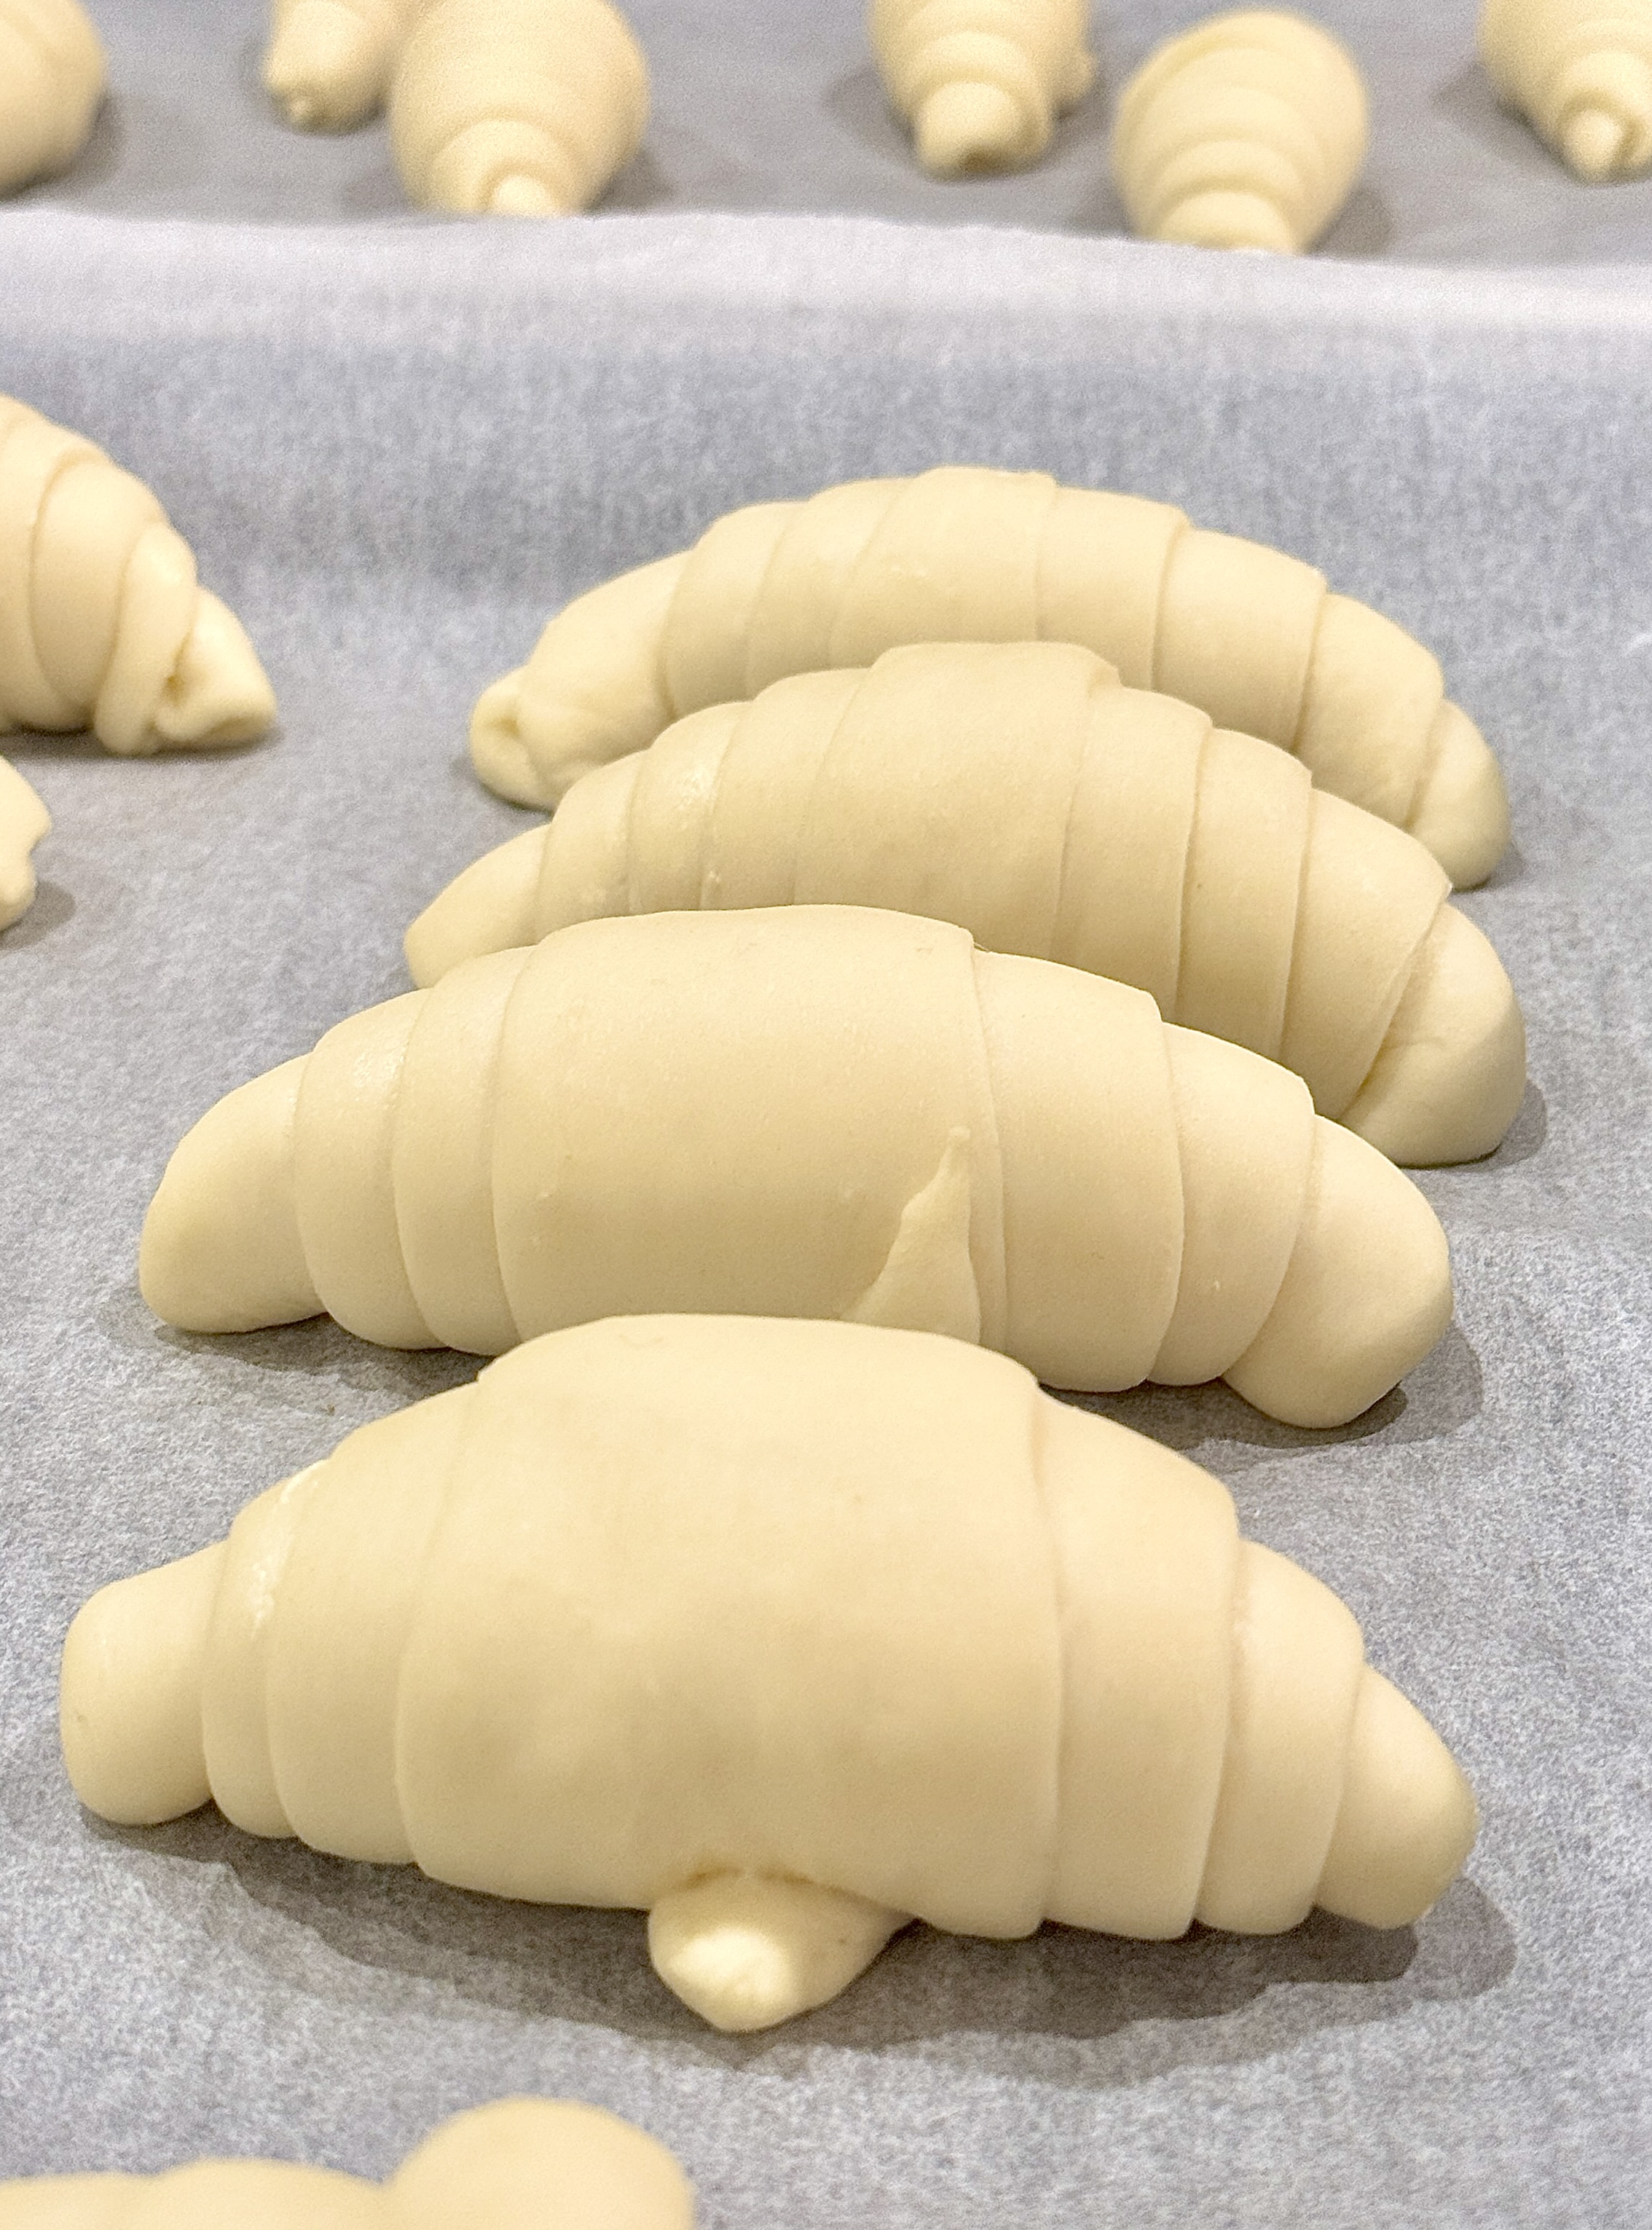 After
After- Bake! Wait for the oven to heat to 200°C. Before baking spray the dough with water 4, sprinkle some salt on top.
Bake for 20 minutes, if the dough starts to get a bit too dark early place a piece of foil over. And voilaaaa may your kitchen smell amazing and make you
slightly hungry. 🤤
 The challenge here will not be eating them while it can still burn you 😅
Tips & Notes
1. If making this in Summer, make sure the milk is refrigerated and cold. The ideal temperature for dough is 24°C. Another option is to add a bit less milk but include some ice cubes.
2. Pinch a small piece of dough and gently stretch it between your fingers — if it stretches thin enough to let light through without tearing, your gluten is fully developed and you’re good to go. If it rips, keep kneading!
3. This step is optional but it adds layers to the bread.
4. This will make the bread even crisper!
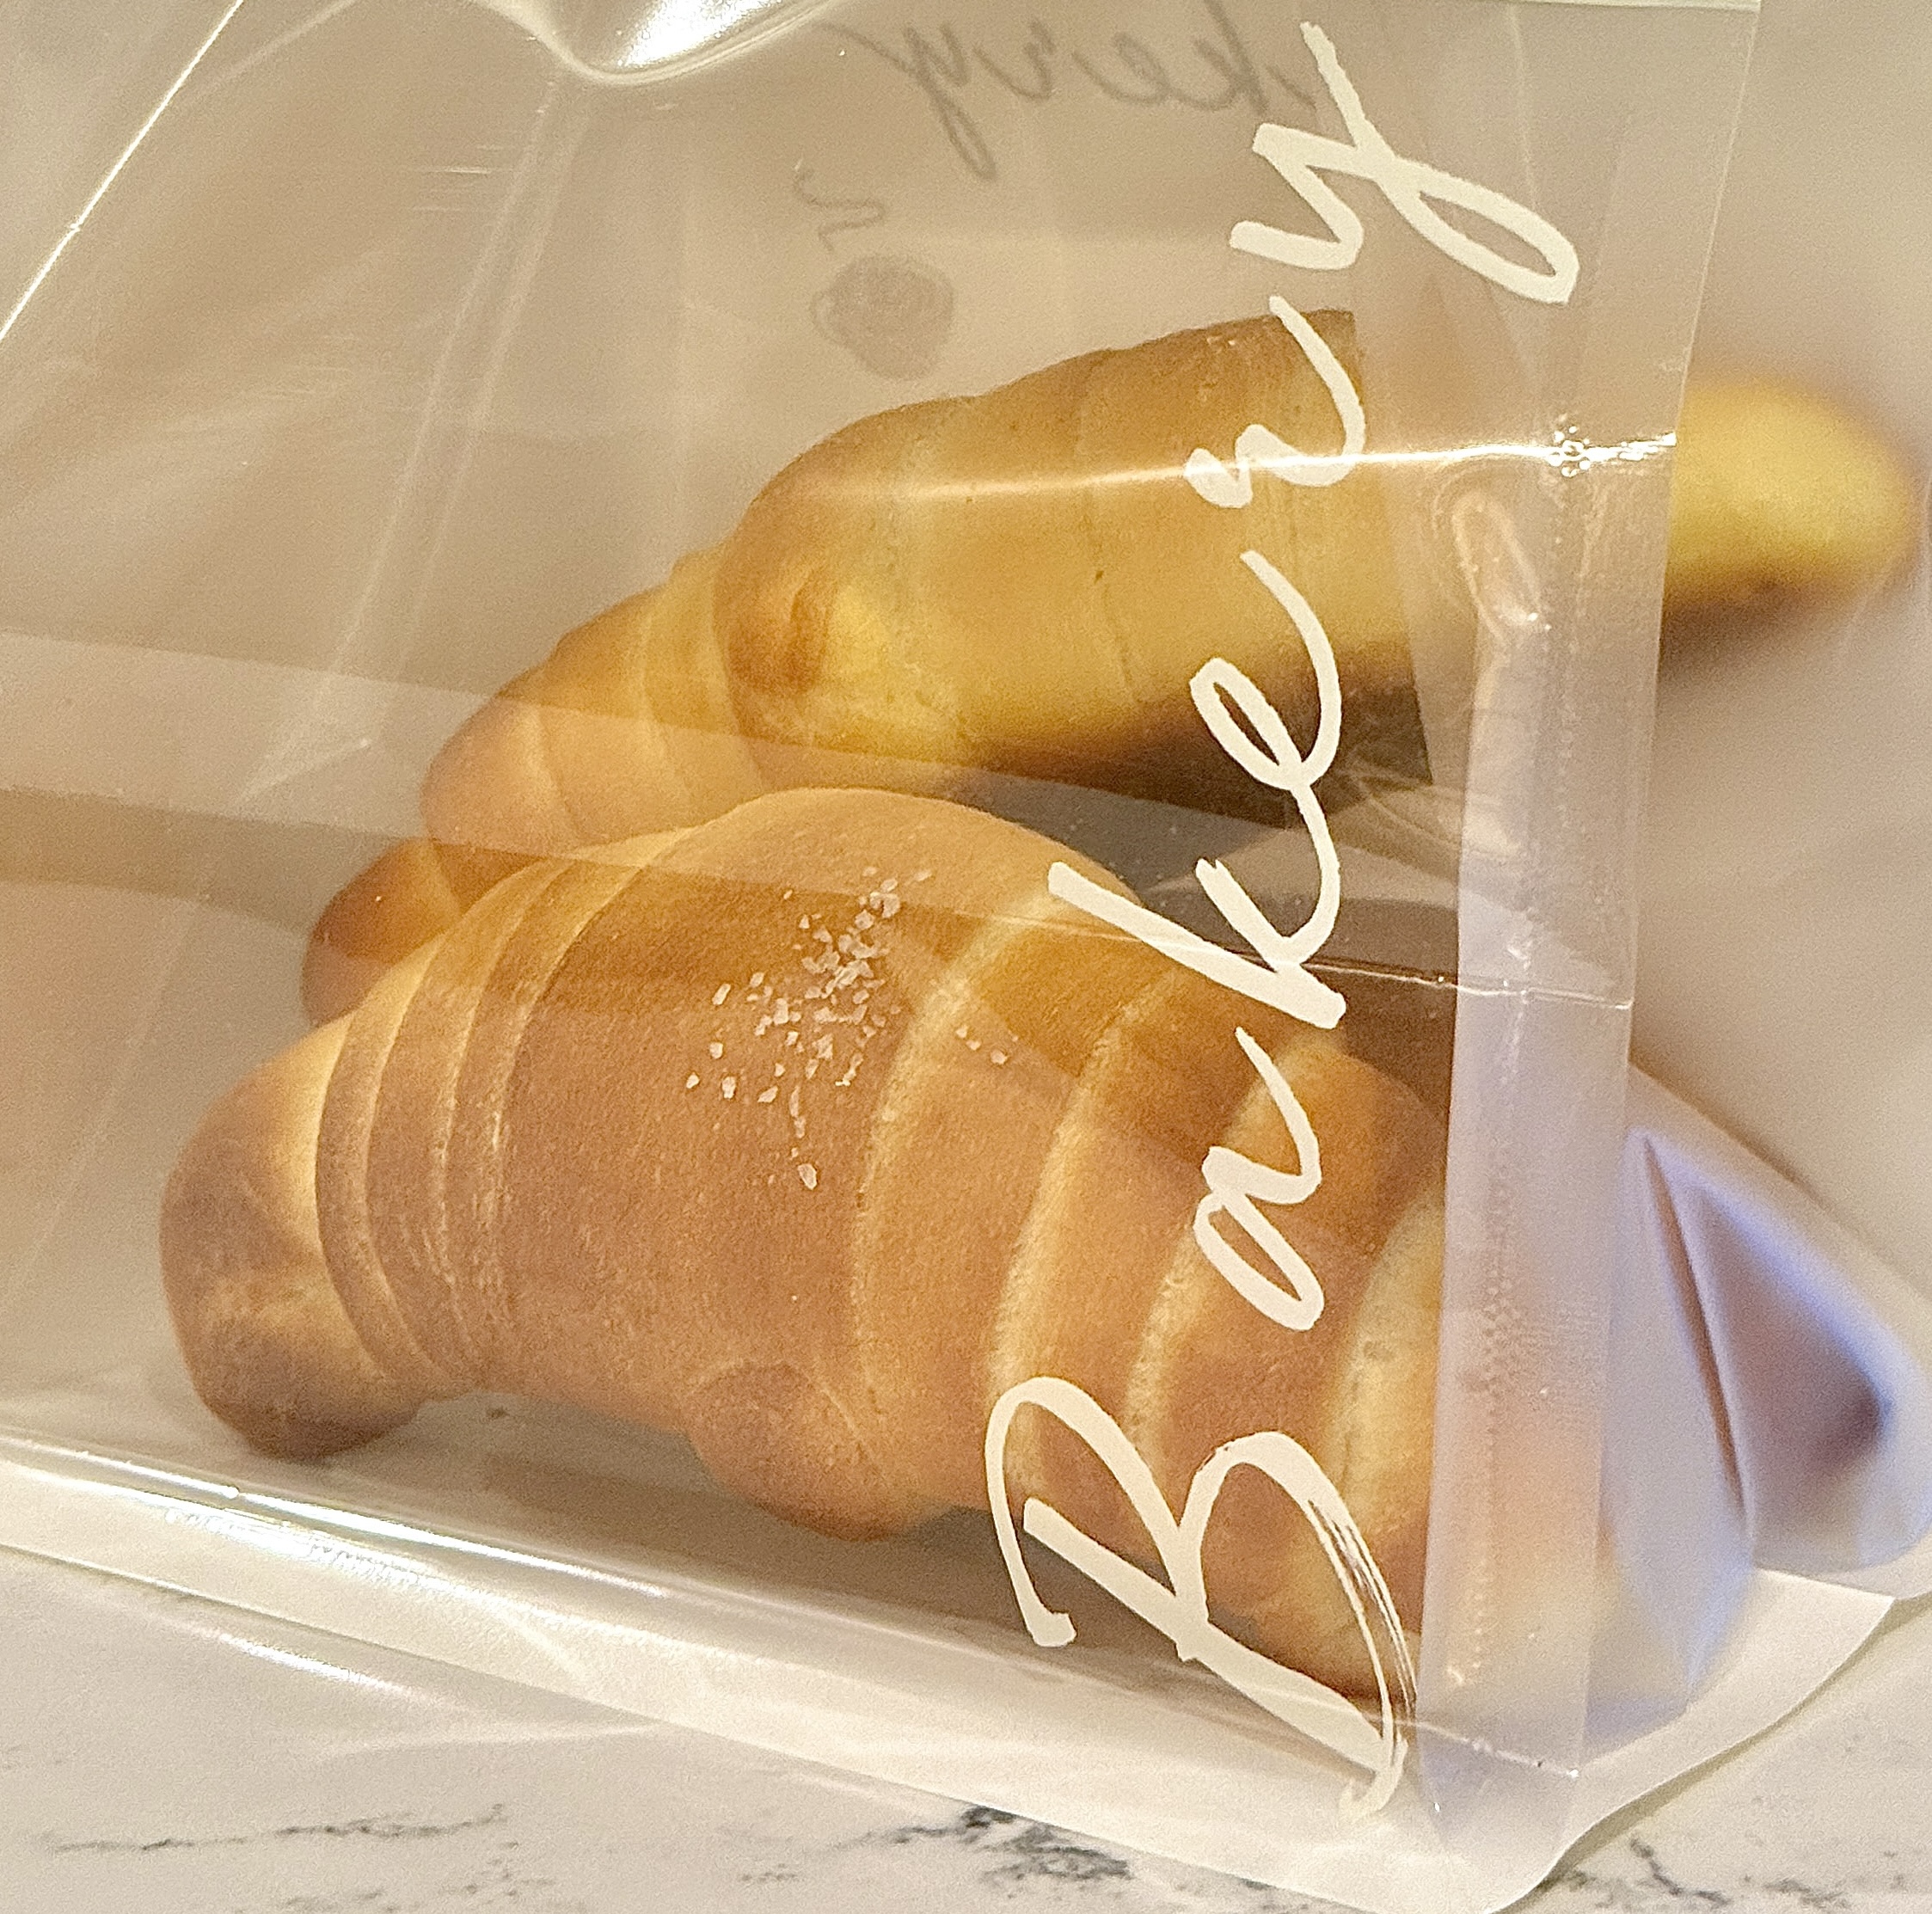
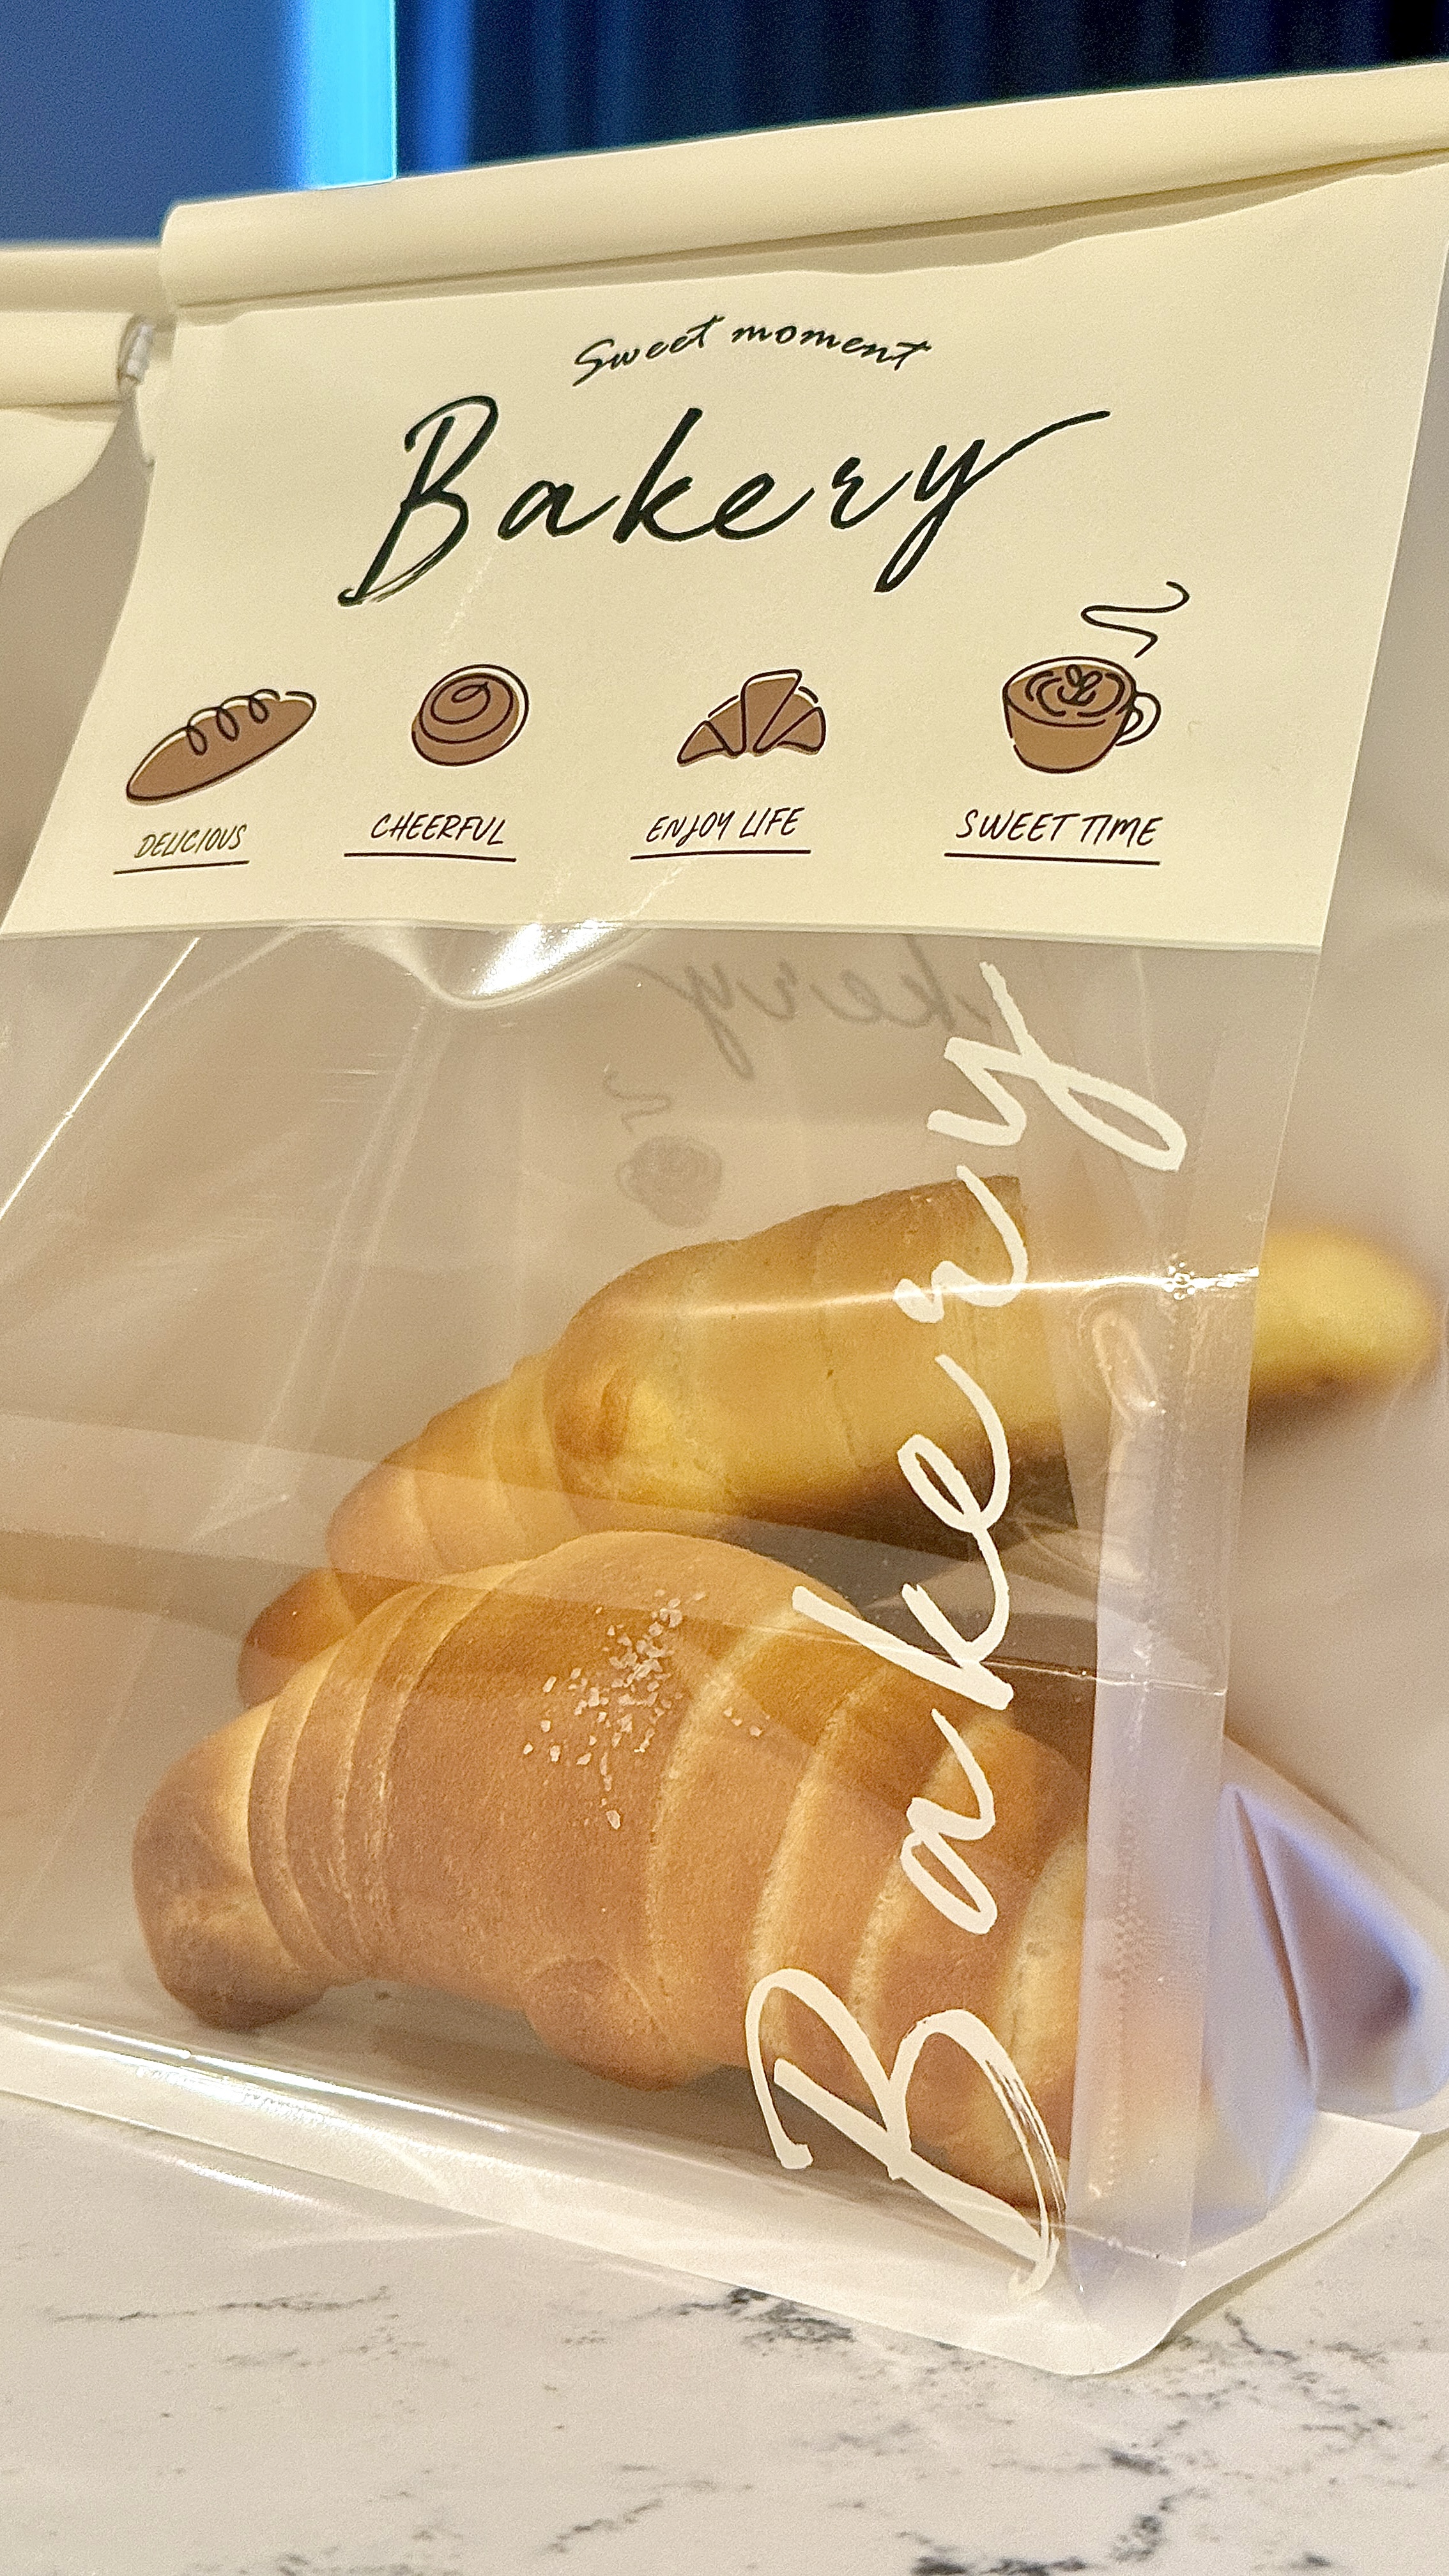 Cute packaging just to bring a bit more joy 🥰
Leave a comment
If you want to hear more from me, subscribe and I'll come to say hi in your inbox every once in a while 💌
Thanks! Check your inbox to confirm your subscription.
Something went wrong — please try again.
Powered by Buttondown. No spam, unsubscribe anytime.